One of the most frequent questions we get here at 64smiles is:
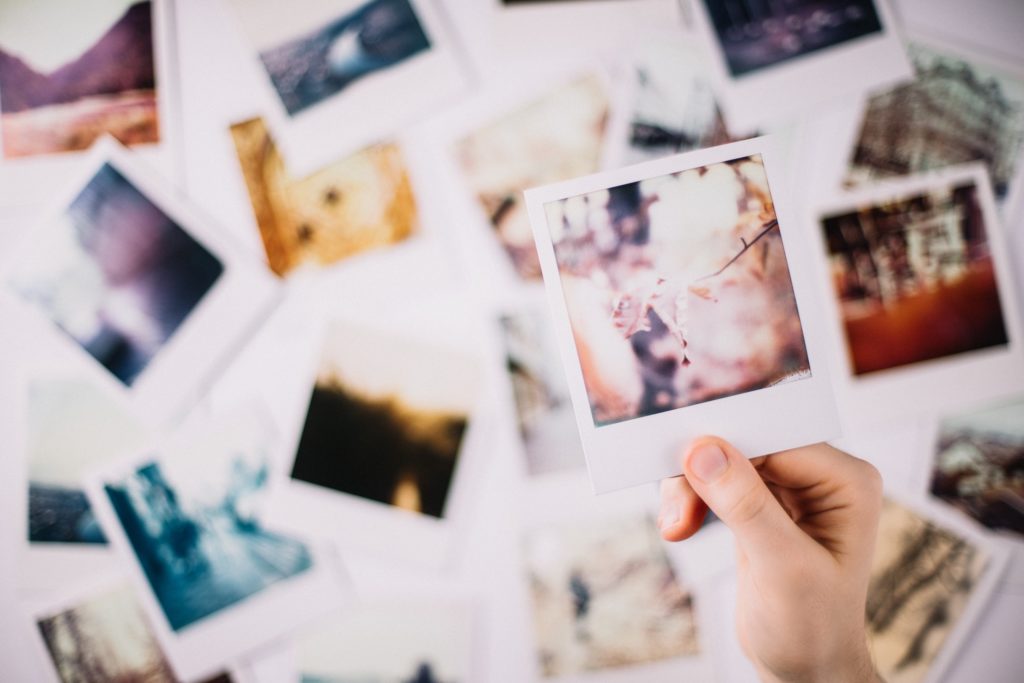
“Help! How can I quickly sort and organise this pile of old printed photos?”
Very often a reader will have come into possession of a collection of old photos. Perhaps from an inheritance, from an elderly relative or some form of gift. They can be in a mess, piled into a shoebox or container of some sort.
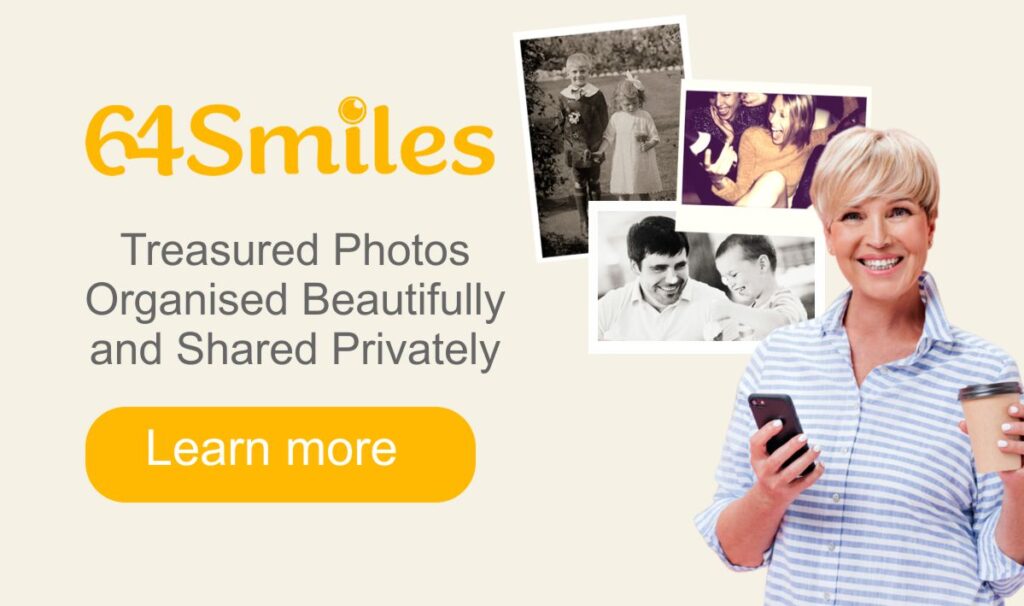
See how 64smiles can help you organise and share your photos beautifully and privately.
For those with not much time to hand, here is our handy guide to how to sorting and organising your old printed photos easily and quickly and all in 5 easy steps.
In this article:
Why Sort and Organise Your Printed Photos?
Before diving into organising your old printed photos, you need to be clear about why you are doing it.
Take a moment to determine what you want to achieve with your project.
Whether it’s decluttering, creating a well-organised family archive, assembling a photo album about a specific family member, or something else, defining your goal will provide a sense of direction and purpose throughout the process.
Once you have established why you are doing it, then you will be able to progress with clarity and enthusiasm.
Step 1: Gather Your Photo Treasure Trove
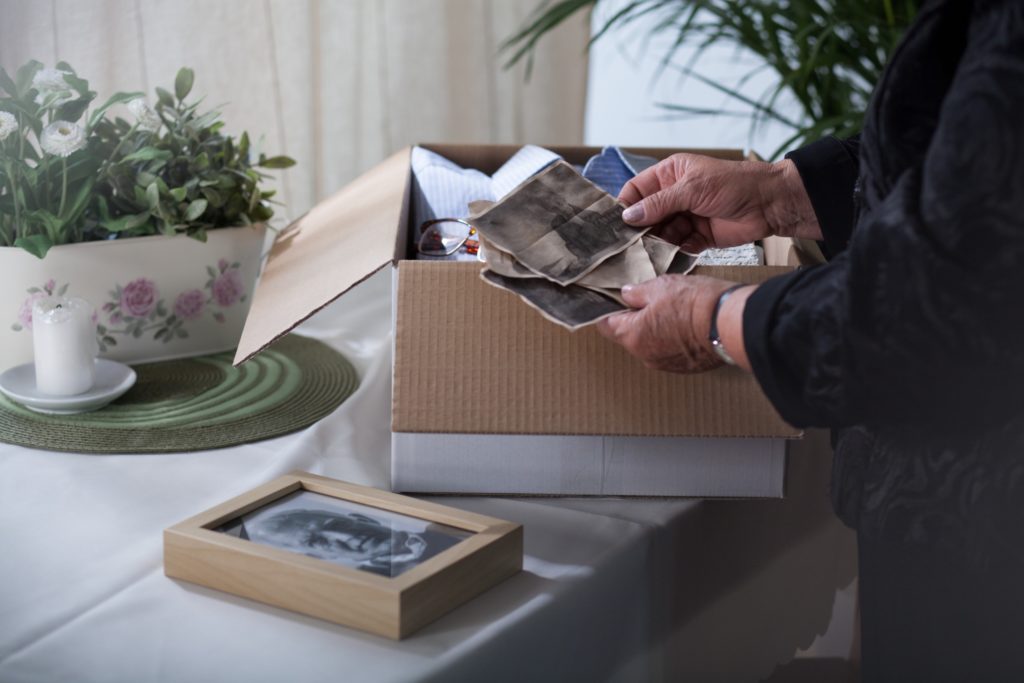
Start by collecting all your printed photographs scattered throughout your home. Check the attic, basement, or any place where memories might be hiding.
Perhaps like me, you have black and white photos from the 1930s to the 1950s, plus lots of very faded orange colour photos from the 1970s and 80s. Finally, I came across a shoebox crammed with glossy prints that take us right up to the invent of the digital camera and phone in circa 1995.
This part of the exercise might seem obvious but the reason is to see just how large and messy your collection of old printed photos might be.
Plus, let’s face it, you really only want to do this once. The last thing is to come across a missing pile of prints somewhere and have to go through the process again
This initial gathering can be a nostalgic trip down memory lane as you stumble upon forgotten moments and faces.
Step 2: Create a Dedicated Workspace
Set up a designated workspace for sorting and organising your prints.
This can be a well-lit table or desk with enough room to spread out your photos. This will make the process more enjoyable and efficient.
I used the floor of our living room! Luckily, I had enough free space in a corner to spread out with no risk of disturbance from family or pets.
Wherever you choose to organise your photos, make sure you can leave them out just in case you don’t get it all sorted in the one sitting.
Tip: Gather essential supplies such as archival-quality photo boxes, acid-free sleeves, labels markers to begin your journey into the past.
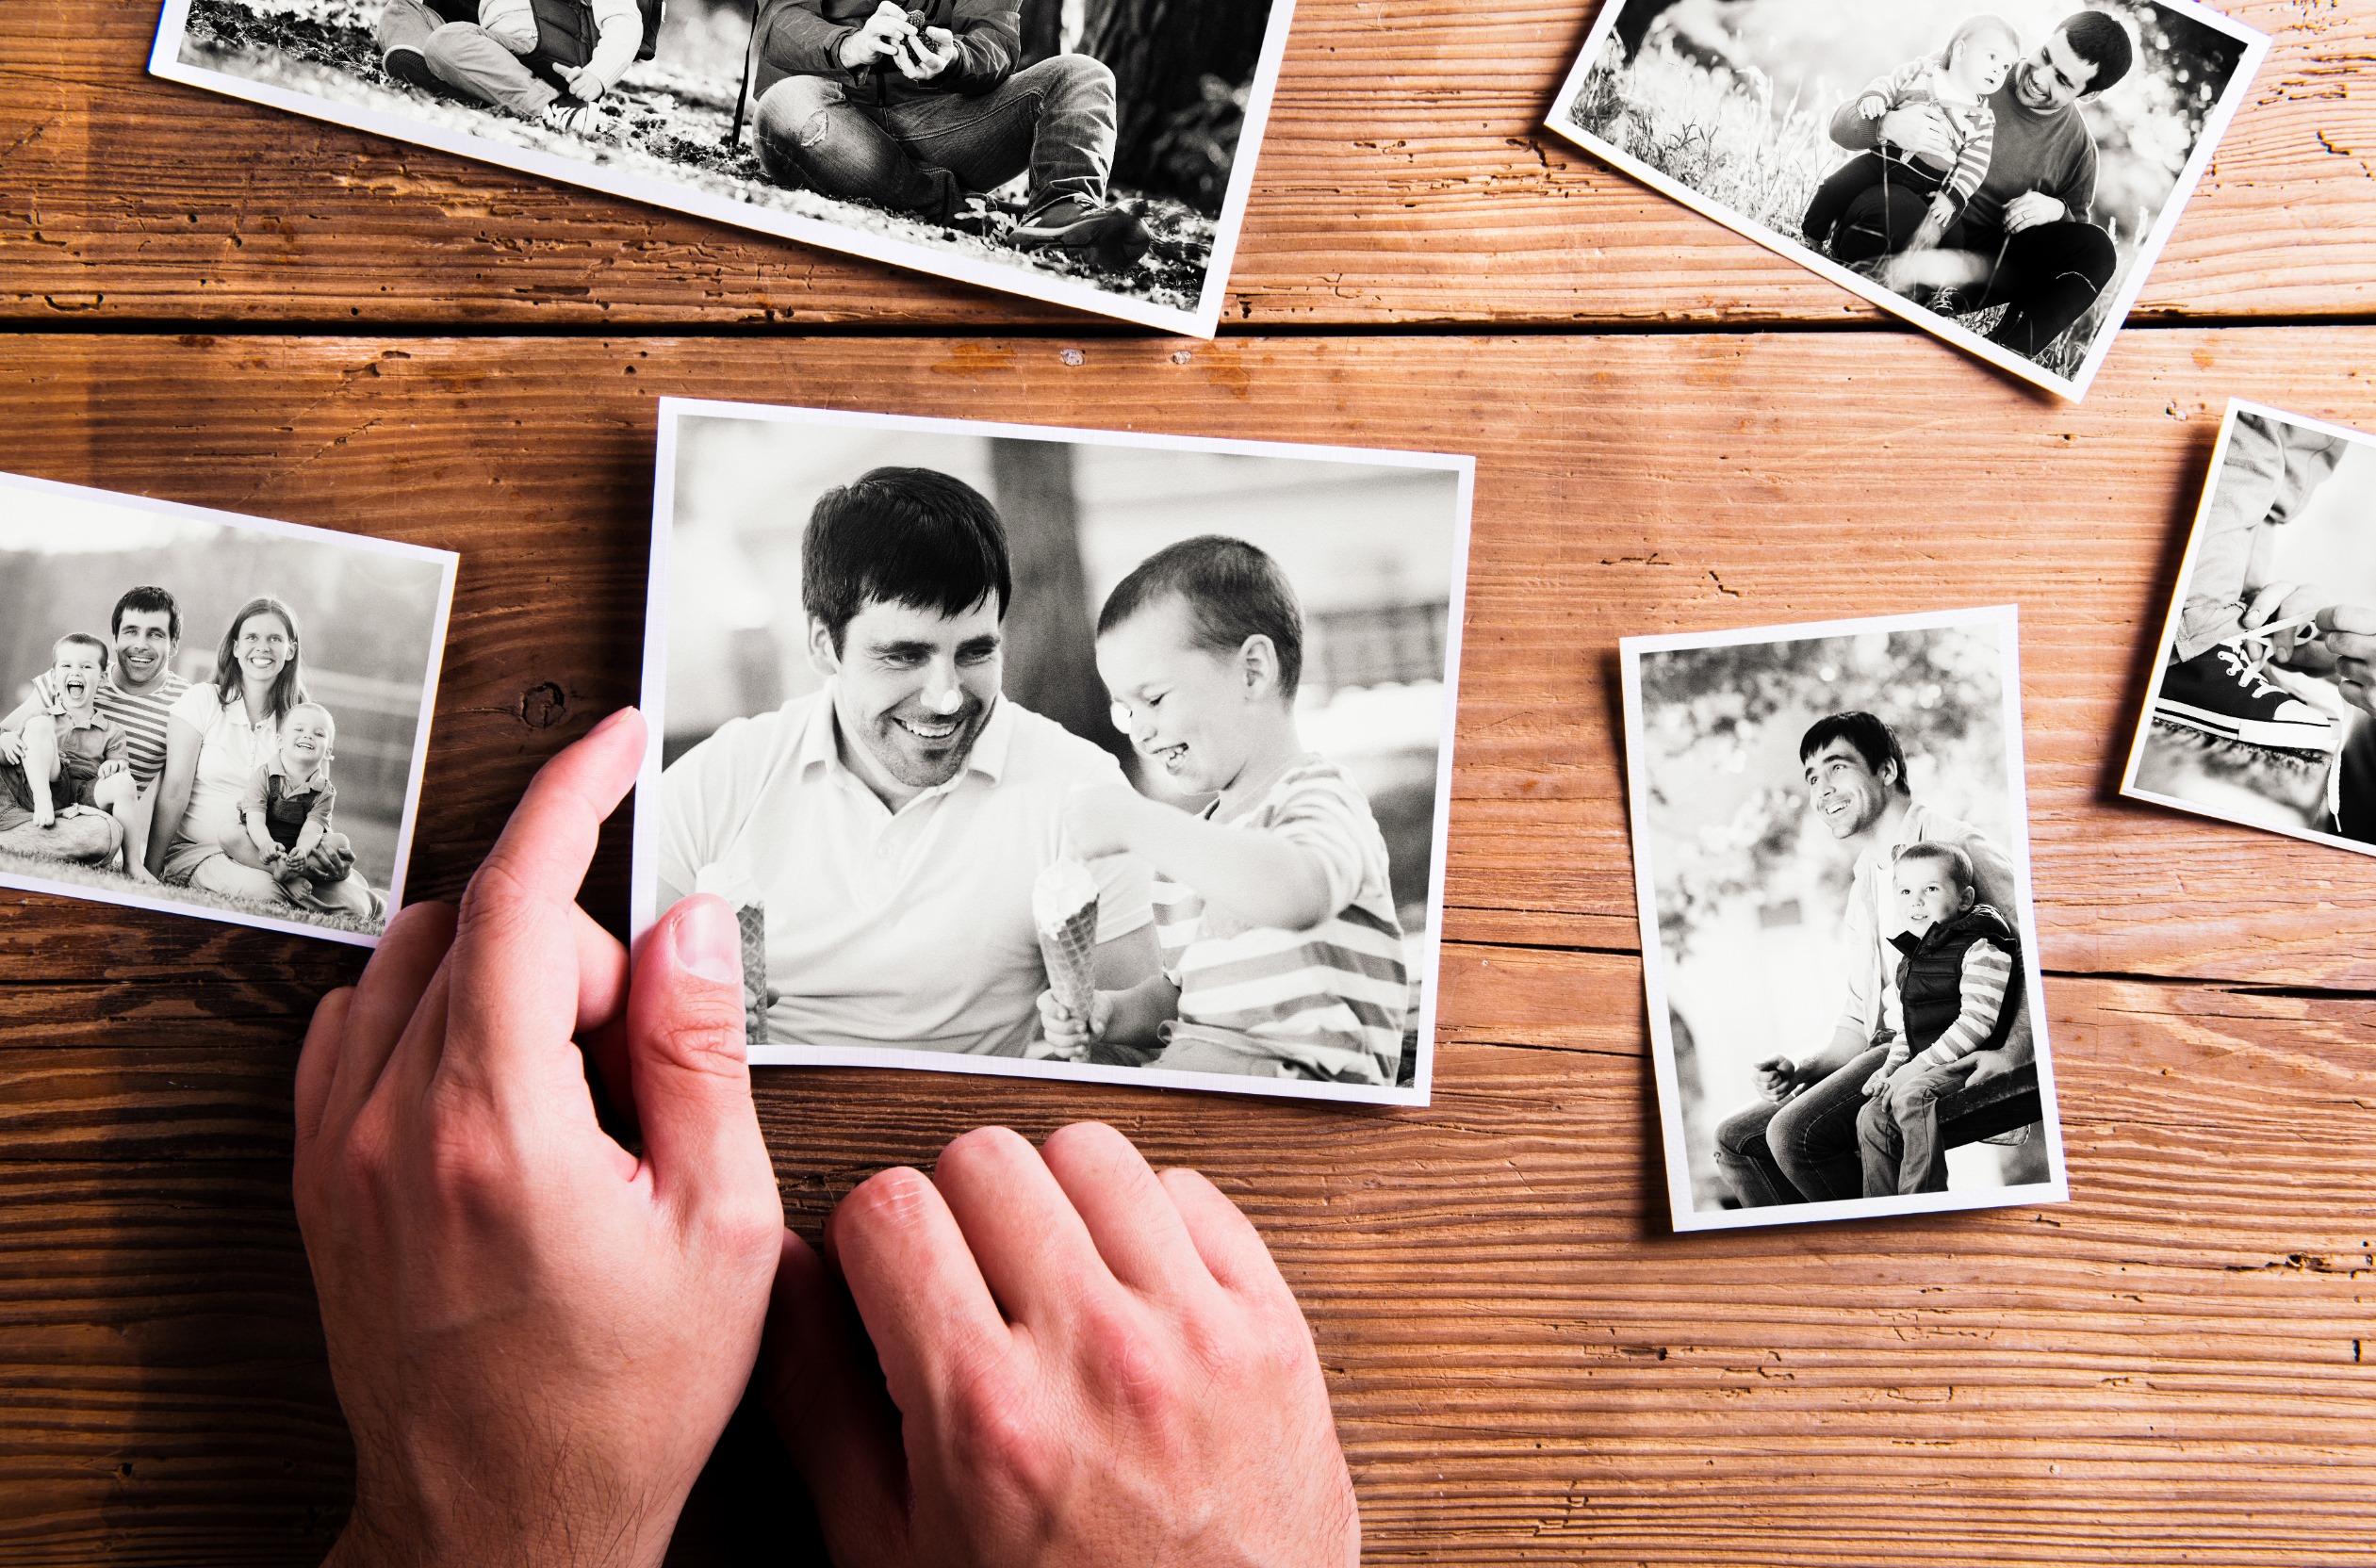
Step 3: Begin to Sort and Organise Printed Photos
Ok, with everything set up and ready let’s start the all-important sorting ritual.
In my experience there are 3 key ways to sort and organise your printed photos:
- Sort by date the photo was taken (month and/or year)
- Sort by the people in your photos
- Sort by themes such as event or places shown
How you start all depends on your photos and what you want to achieve.
For me, the most vital was to get them into some sort of date order first. This was most relevant for the collection of printed photos that I had as they were spread over many decades.
Let’s look at each of these in turn:
1. Sort by Date Photo Was Taken
Begin by sorting your photos chronologically. This not only provides a visual timeline of your memories but also makes it easier to identify significant life events and milestones.
Step 1: Quickly Sort into Decades:
Create separate piles for each decade, the 1990’s, 1980s, etc right back until the earliest photo in 1900’s. This does depend on the volume and age of your collection of course.
By piling into decades I found it made the process much easier and faster. I did this very quickly, taking about an hour or so for over 300 photos. I didn’t spend much time analysing, I just threw the photo onto the pile I though was most relevant.
Quite often it was not so easy to come up with a date the photo was taken and so I took a guess.
Step 2: Refine by Year Photo Was Taken:
Once done, you will have 10 piles, one for each decade. Now, time to refine and sort into year taken.
Go through each decade of photos in turn, creating 10 piles, one for each year in the decade, with oldest on left, newest on right.
Start sorting your photos one by one, but take more time to assess and analyse the date taken. Go through each decade of photos, carefully, looking at the photo, working out the date as accurately as you can.
When done you will have a collection for each year taken. Then depending on the volume of photos and the time you have you could repeat this for each month.
2. Sort by People in Your Photos
As an alternative, you can start by sorting your photos by the people in them. If you mostly have family photos, create a pile for each of the key people in it.
Start with your direct family, one for each of your parents, grandparents, siblings, children and grandchildren.
Move into extended family, perhaps with a separate pile for each side of your family, one for your father’s relatives and one for your mothers.
As with the initial sorting by date order, the idea is just to work quickly, popping photos into the most relevant pile quickly.
Once you have your collection for each person, you can then sort by date order or event. It is a great ay to have a timeline and quite an emotional experience seeing your parents grow from children up to adults.
3. Sort by Themes Such as Events or Places
Now you have established a chronological order or have your collections sorted by the people in your life or even both.
Take it a step further by considering sorting by themes such as events or places.
Grouping your printed photos based on common themes adds an additional layer of organization, crafting a more coherent narrative within your collection.
For example, events I have used for my photo collection are:
- Weddings
- Honeymoon
- Holidays
- Celebrations
- Birthdays
- Family Gatherings
Your photos will determine the events, for example, you have lots of school events, friends or religious events that you want to use.
Step 4: Keep Your Photos Organised and Easy To Access
With your printed photos beautifully sorted, now the task is to keep them organised and easy to access. Here are some ideas:
Labelling Magic: Labelling is key to maintaining the narrative of your photo collection. Write detailed captions on the back of your photos or use acid-free markers to label photo sleeves. This ensures that future generations can unravel the stories behind each image.
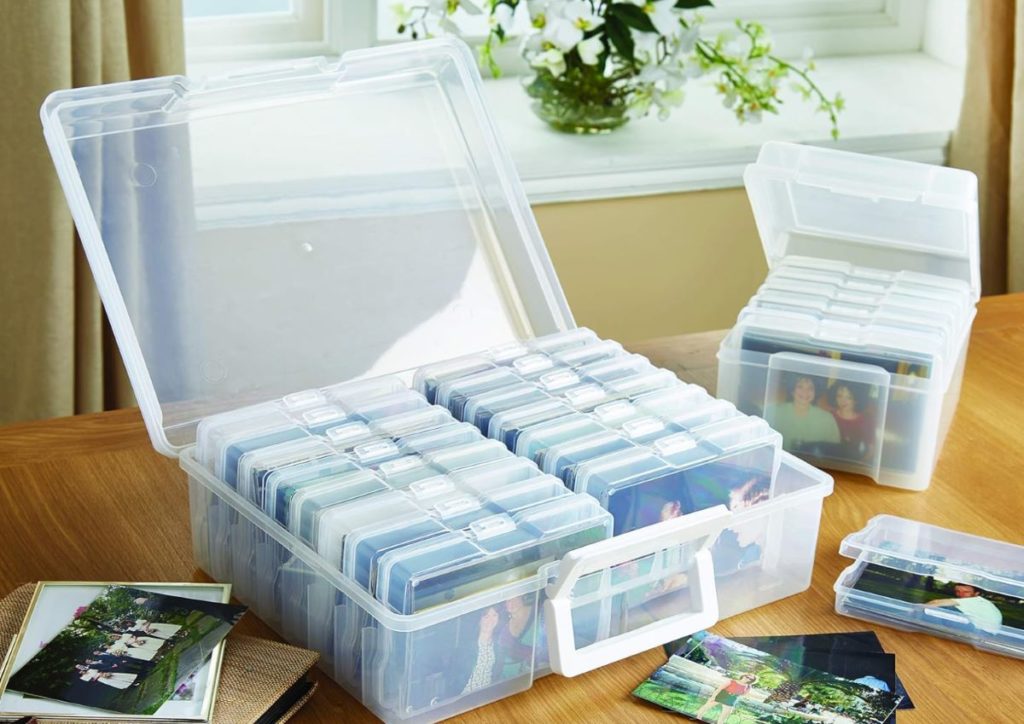
Keep in a Safe Place: The most effective approach to organising old printed photos is to keep them consolidated in a single place. Not only will this ease access but help identify duplicates or photos that you may want to discard or give away. Consider specialist storage boxes as per the image above from amazon.
Family Tree Albums: Take advantage of the family tree concept to organise your printed photographs in albums. Designate a section for each branch of the family, creating a visual representation of your genealogy. This not only adds an artistic touch but also enhances the storytelling aspect of your collection.
Step5: Share Your Photos Privately With Family
As you sort and organise, take moments to reflect on the memories captured in each photograph.
This process is not just about sorting; it’s about preserving a visual legacy that spans generations.
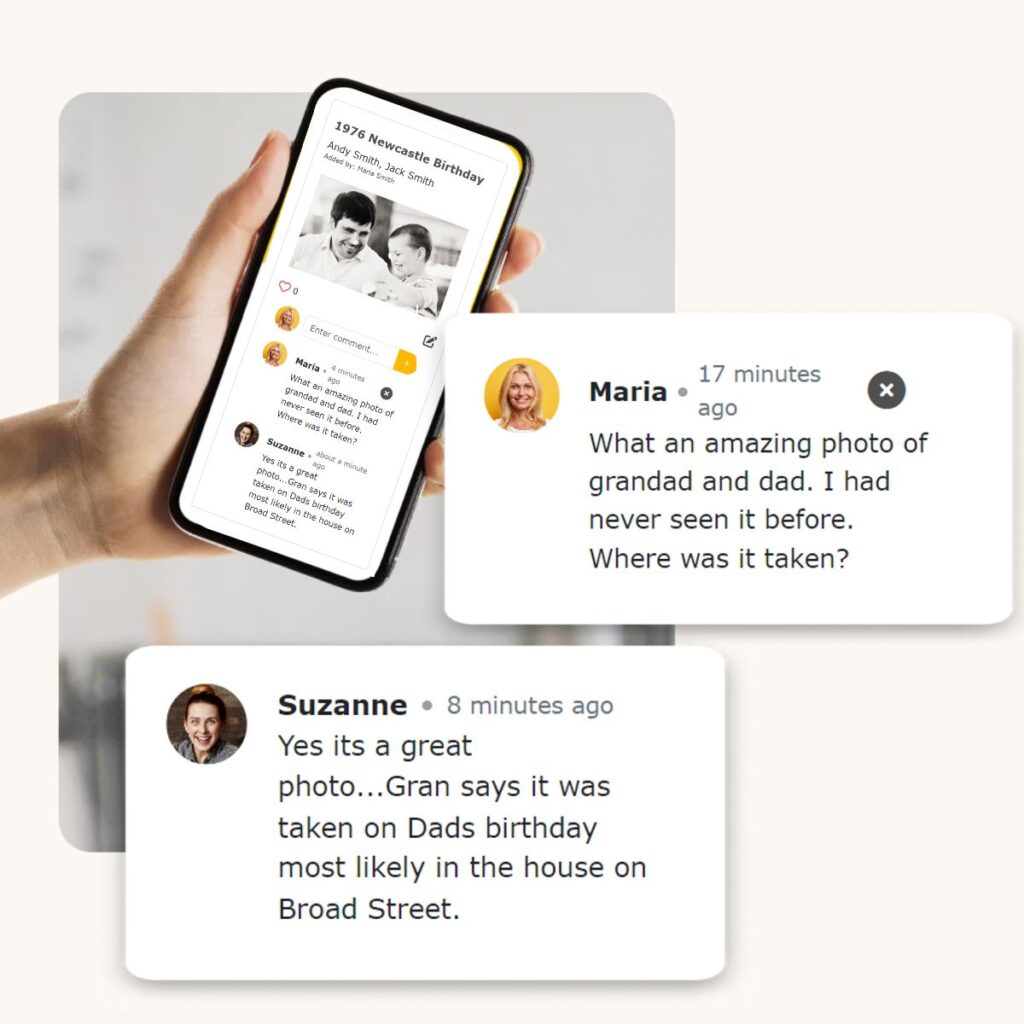
Why not join 64smiles where you can share your photos with family totally privately. All beautifully organised onto a family tree structure – see here how easy it is.