Imagine the scenario.
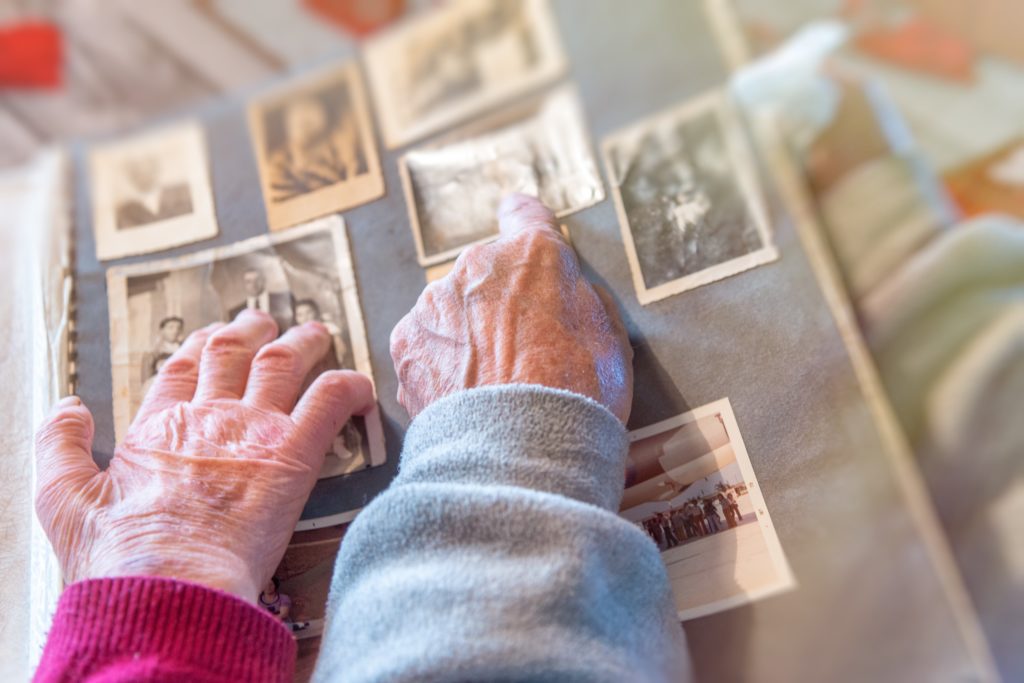
You have a great pile of printed photos, perhaps old family photos or holiday snaps from the late 1990s.
You finally decide it’s time to do something about them.
One of the most common questions we get asked by people in this scenario is:
“How can I get my old photo prints on to my phone or computer?”
It’s a perfect question, and one that you are maybe asking yourself as you stare down at your collection of printed pics.
In this article, we will outline the best ways for you to convert old printed photos to digital and get them onto your phone or computer.
Click here to see how 64smiles can help you organise and share your old family photos for free.
Why Put Your Old Printed Photos on Your Phone or Computer?
Let’s play devil’s advocate here.
Do you really need to have your old printed photos on your phone or laptop? What’s the point? Is it really necessary?
The answer to those questions depends on what you want to do with your photos when you are done.
For example, if you are looking at sharing your old family photos with others, then yes digitising them in some way is useful. If you want to store them in the cloud or in digital form as a way of preserving them, then again yes, great idea.
However, if you are just looking at a way to sort and organise them and perhaps store them correctly, then converting them to digital may not be necessary.
Advantages of Converting your Old Printed Photos To Digital

While it’s a relatively easy task, it does require some time investment. So, let’s consider the reasons why converting your old prints to digital might be worthwhile.
Here are 3 top reasons to consider digitising your cherished printed photos:
1. Protecting Your Photos Forever:
No more rips and tears!
Printed photos are susceptible to the passage of time, leading to fading, discoloration, and physical deterioration. Similarly, exposure to light, humidity, and temperature fluctuations can adversely affect the condition of printed photos.
Digitising and putting them on to your phone or computer preserves the image in a digital format, protecting it from the natural wear and tear associated with aging.
See how to sort and organise your old photo the easy way.
2. Get to Your Photos Quickly and Easily
The great thing about having these old photos on your phone is that you can access them from anywhere at any time.
Your digital photos can be stored on various devices, in the cloud. This convenience makes it easy to share memories with family and friends, regardless of geographical distances.
Also, brilliant when visiting family, you can just find that photo of your ancestor with just a few clicks.
No more dragging the old photo album with you!
When, you have your old photos on your phone of computer, sharing becomes as simple as sending a message or email. Social media platforms and digital communication channels make it effortless to share and celebrate these special moments.
3. No More Messy Piles of Printed Photos
Going down the route of converting your photos to digital means that you have to sort and organise them.
What may start off as a great pile of photos should end up with some nice neat ordered groups of images.
And of course, when your old photos are on your phone or desktop, you can categorise, tag, and create albums, making it easier to locate specific photos when desired.
Remember: Digitising enables you to add keywords and metadata to your old family photos. This eliminates the need to sift through physical albums or boxes to find a particular image.
3 Best Methods for Getting Old Printed Photos on to Phone or Computer
As discussed above there are lots of good reasons why you should consider digitising old photos and having them handy on your phone or computer.
The even better news is that there are various options available to help you do this and here are three tried and tested.
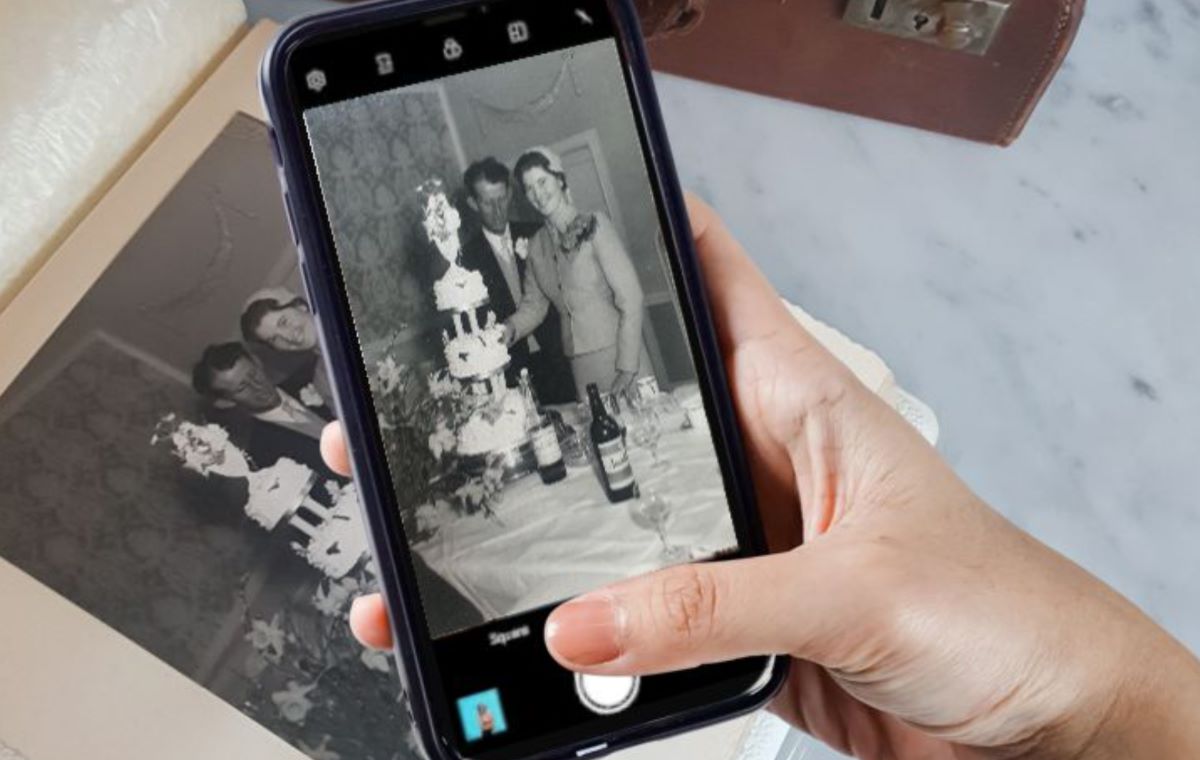
1. Simply Use Your Phone Camera

If your main aim is to get your old photo prints on to your phone, then this is our number one recommendation.
Using your smartphone is a brilliant choice.
It’s convenient and accessible and couldn’t be simper.
All you need is your phone and good lighting, either natural light or a some well-balanced lamps that don’t create a shadow or shine on the photo.
Here’s a step-by-step guide on how to use your phone to convert your old printed photos to digital:
- Organise and clean your photos: Wipe off any dust or debris from the photos using a soft, clean cloth. This is to limit imperfections that the digital image may show when zoomed in on.
- Position the Photo: You will do each photo one at a time. Place the photo ideally on a contrasting background. A plain white or black surface works well. Ensure there’s good lighting to avoid shadows.
- Take a Photo of the Printed Photo: Take a snap using your phone camera. Hold the phone camera directly overhead otherwise you will get a skewed image.
- Review, Edit and Adjust the Digital Photo: Review the captured image. Use your phone editing software to make adjustments, such as cropping or rotating. You may have to lighten the image to get more detail showing especially in old black and white photos.
- Save the Digital Photo: Save the digitised photo to your smartphone’s gallery or a cloud storage service. Ensure you choose a high-resolution option for better image quality. Consider backing up your digital photos to a cloud storage service or an external hard drive to ensure they are safely stored and easily accessible.
- Organise into Online Albums or Folders: Create folders or albums on your phone to organize the digitised photos. Consider adding labels or captions to help identify and categorise them.
- Repeat for each Printed Photo: It can be a laborious task however you only have to do it one. For that reason, its best to take your time to ensure each image is captured clearly.
Convert Your Old Printed Photos to Digital with a Traditional Scanner

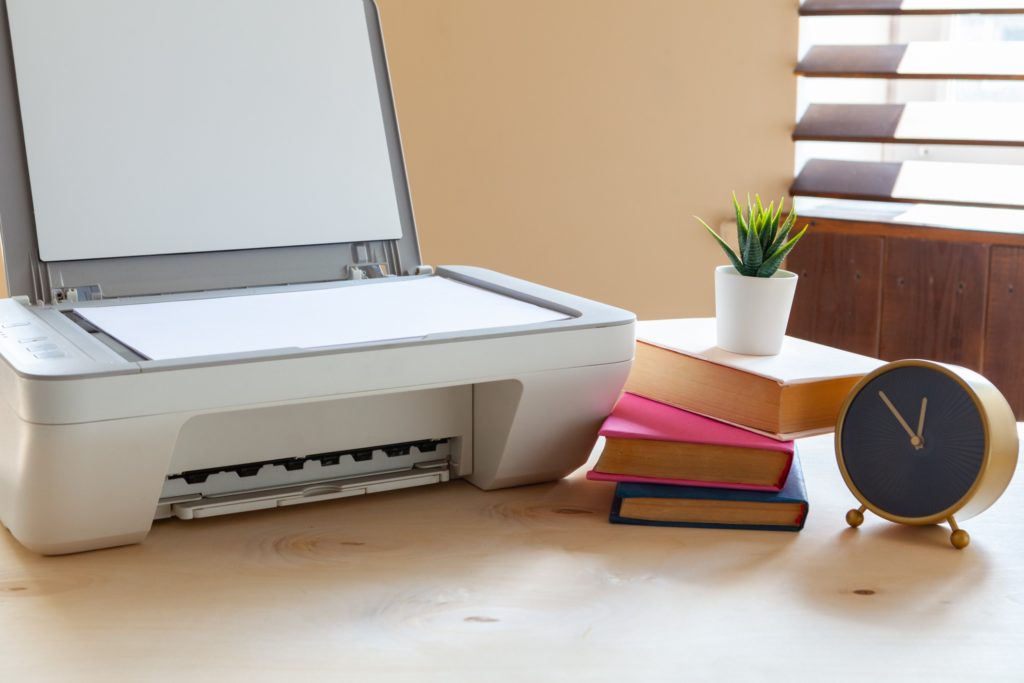
If your goal is to have your photos on your laptop or computer then consider using a physical scanner.
This will also give you better quality images.
With a high-resolution scanner especially, every intricate detail and colour nuance is captured, ensuring a faithful representation of the original.
Perfect if you are considering using them to create something such as a printed photo book for example.
The process is user-friendly, requiring minimal technical expertise. Here’s how to ensure the process is efficient and produces high-quality digital copies of your prints:
- Choose the Right Scanner: Use a scanner with a resolution suitable for photo scanning. A scanner with a minimum optical resolution of 300 dots per inch (dpi) is generally recommended for quality results.
- Clean the Scanner Bed: Before placing your photos on the scanner bed, make sure it is clean and free from dust or debris. Any particles on the scanner bed can affect the quality of the scanned image.
- Arrange Your Photos Correctly on the Scanner: Organise the photos you want to scan. Ensure they are clean and free of fingerprints. Arrange them neatly on the scanner bed, leaving some space between each photo to avoid overlapping. When placing photos on the scanner bed, handle them with clean and dry hands to avoid leaving fingerprints. Be gentle to prevent any potential damage to delicate prints.
- Preview Before Scanning: Use the preview function on the scanner software to see how the scanned images will look. This allows you to make adjustments, such as cropping or adjusting settings, before the final scan.
- Set the Right Resolution and Colour Mode: Adjust the scanning settings based on your preferences and the intended use of the digital copies. For photos, use a resolution of at least 300 dpi, and choose the appropriate colour mode (colour, grayscale, or black and white). Ensure that the exposure settings are appropriate for the photos you’re scanning. Adjust brightness and contrast if needed to achieve the best results.
- Save in a Suitable Format: Save the scanned photos in a format that preserves image quality. For most purposes, JPEG is suitable. If you need higher quality or plan to do further editing, consider saving in a lossless format like TIFF.
Top Tip: Batch Scanning for Efficiency: If you have a large number of photos to scan, take advantage of batch scanning features if your scanner supports it. This allows you to scan multiple photos in a single session.
Download a Specialist App for Digitising Printed Photos

While we love just using your phone camera, you may want to consider a scanner app to get a better quality result.
There are tons of apps which are all adequate.
The best to choose really depends on your specific needs and preferences.
Here are 8 of the most common photo apps, explore and see what fits your needs best.
Google PhotoScan: Google’s PhotoScan is renowned for its ability to eliminate glare and enhance image quality. It employs sophisticated algorithms to stitch together multiple shots, producing a high-quality digital version of the original photo.
Adobe Scan: Adobe Scan not only captures photos but also offers powerful editing tools. With features like automatic cropping and perspective correction, it ensures that digitized photos maintain their authenticity while looking their best.
Photomyne: Photomyne specializes in batch-scanning multiple photos at once. Its intuitive interface and automatic cropping make it easy to scan entire photo albums quickly, making it an excellent choice for those with large collections.
CamScanner: While primarily designed for document scanning, CamScanner is versatile enough to digitize photos effectively. Its optimization features and the ability to export images in various formats make it a handy tool for photo digitization.
Scanbot: Scanbot offers a seamless scanning experience with features like automatic edge detection and smart cropping. Its ability to save images in different formats and cloud integration simplifies the process of organizing and sharing digitized photos.
Flickr: Flickr’s app includes a built-in scanner tool that utilizes your smartphone camera. Beyond digitization, it provides a platform for organizing and sharing your photos, creating a comprehensive solution for both archiving and displaying your memories.
Microsoft Office Lens: Microsoft’s Office Lens app is known for its versatility in scanning various types of content, including photos. Its integration with Microsoft Office products and cloud services makes it a practical choice for users within the Microsoft ecosystem.
Photo Scanner Plus: This app is specifically designed for photo scanning, offering features like automatic edge detection, rotation correction, and the ability to add captions. It’s a straightforward tool focused on preserving the authenticity of old photographs.
Finally, Our Top Tips When Digitising Your Old Photos
Let’s face it, your family photos are a treasure.
Care must be taken when digitising and here are out top tips for a perfect result whatever method you use.
- First, choose a high-resolution scanner to capture intricate details.
- Clean photos gently beforehand to avoid dust or debris interference.
- Use appropriate settings, like colour correction, to enhance image quality.
- Organize photos by size and orientation for efficient scanning.
- Save files in a lossless format like TIFF to retain maximum quality.
- Label files with relevant details to preserve context.
- Regularly back up digitized photos to prevent loss.
- Consider professional services for delicate or oversized prints.
- Lastly, embrace photo-editing tools for minor touch-ups, ensuring the digitized versions mirror the original charm while eliminating imperfections.
Your Old Photos are a Family Legacy
Keeping a collection of old photos safe is an important responsibility.
They are an heirloom for future generations to enjoy.
Once you have your photos digitised and on your phone or computer, check out 64smiles.
This secure platform is ideal for both organising your collections of old photos beautifully but also allowing you to share them privately.
A great way for other members of your family to view, enjoy and comment on your photos.


